
Hi all! So today, I am channeling my inner Chinese out as Lunar New Year is right round the corners.
Chinese New Year is a festival that I look forward to every year. It is known as the Spring Festival. We celebrate this festival for 15 days! Imagine all the eating…. Wow… Aside from the eating, families would all come together and celebrate this grand festival. What I really love most about this festival is that I would get to meet my distant relatives and catch up on their interesting life. 🙂
One thing most house have during the festival is Pineapple tart. I actually have no idea why pineapple tart but it has been a tradition in my family to have pineapple tarts, so I grew to love it. And this year, I thought I should try to bake it. And so I got down to it. 
There are two main components in a pineapple tart. They are the pineapple paste and the skin of the tart. Many would opt to purchase the paste as it is time-consuming and tedious, however I stubbornly decided to do my very own pineapple paste.
The pineapple paste is very very very easy to do. And I am not being ridiculous, it is just so simple. Come, let me tell you how simple it is.
Homemade Pineapple Paste/Jam
Ingredients:
- I used 4 whole pineapples (however you could reduce the amount if you do not wish to make a huge batch of pineapple tarts. I made a total of 140 tarts with 4 whole pineapple.) Or alternatively, you could use canned pineapple.
- Sugar. (You do not need to use caster sugar, normal cane sugar would be perfect!)
Directions:
- Chop/Slice/Cube the pineapples. You are going to blend it eventually. If you are using canned pineapples, please drain the juices and squeeze the pineapple dry as well. You want the mixture without liquid.
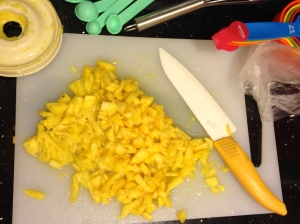
- Blend the pineapples! Blend till it create a smooth and chunk-free consistency.
- Transfer them into a big pot as you want to increase the surface area of the pineapple mixture.
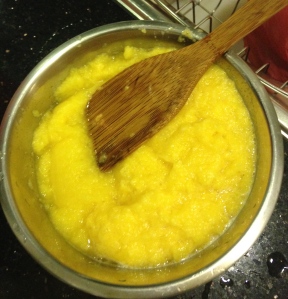
- Add couple heaping tablespoons of sugar. Taste as you add, stop when it comes to your desired sweetness.
- Cook them over medium-high heat, stirring occasionally; till they look dark brown and dehydrated. Mine took about 2 and a half hour to 3 hours. Patience is the key.
- Remove the paste onto a tray and expand the surface area of the paste by spreading it out. When the paste is completely dried, cover and place it into the fridge.
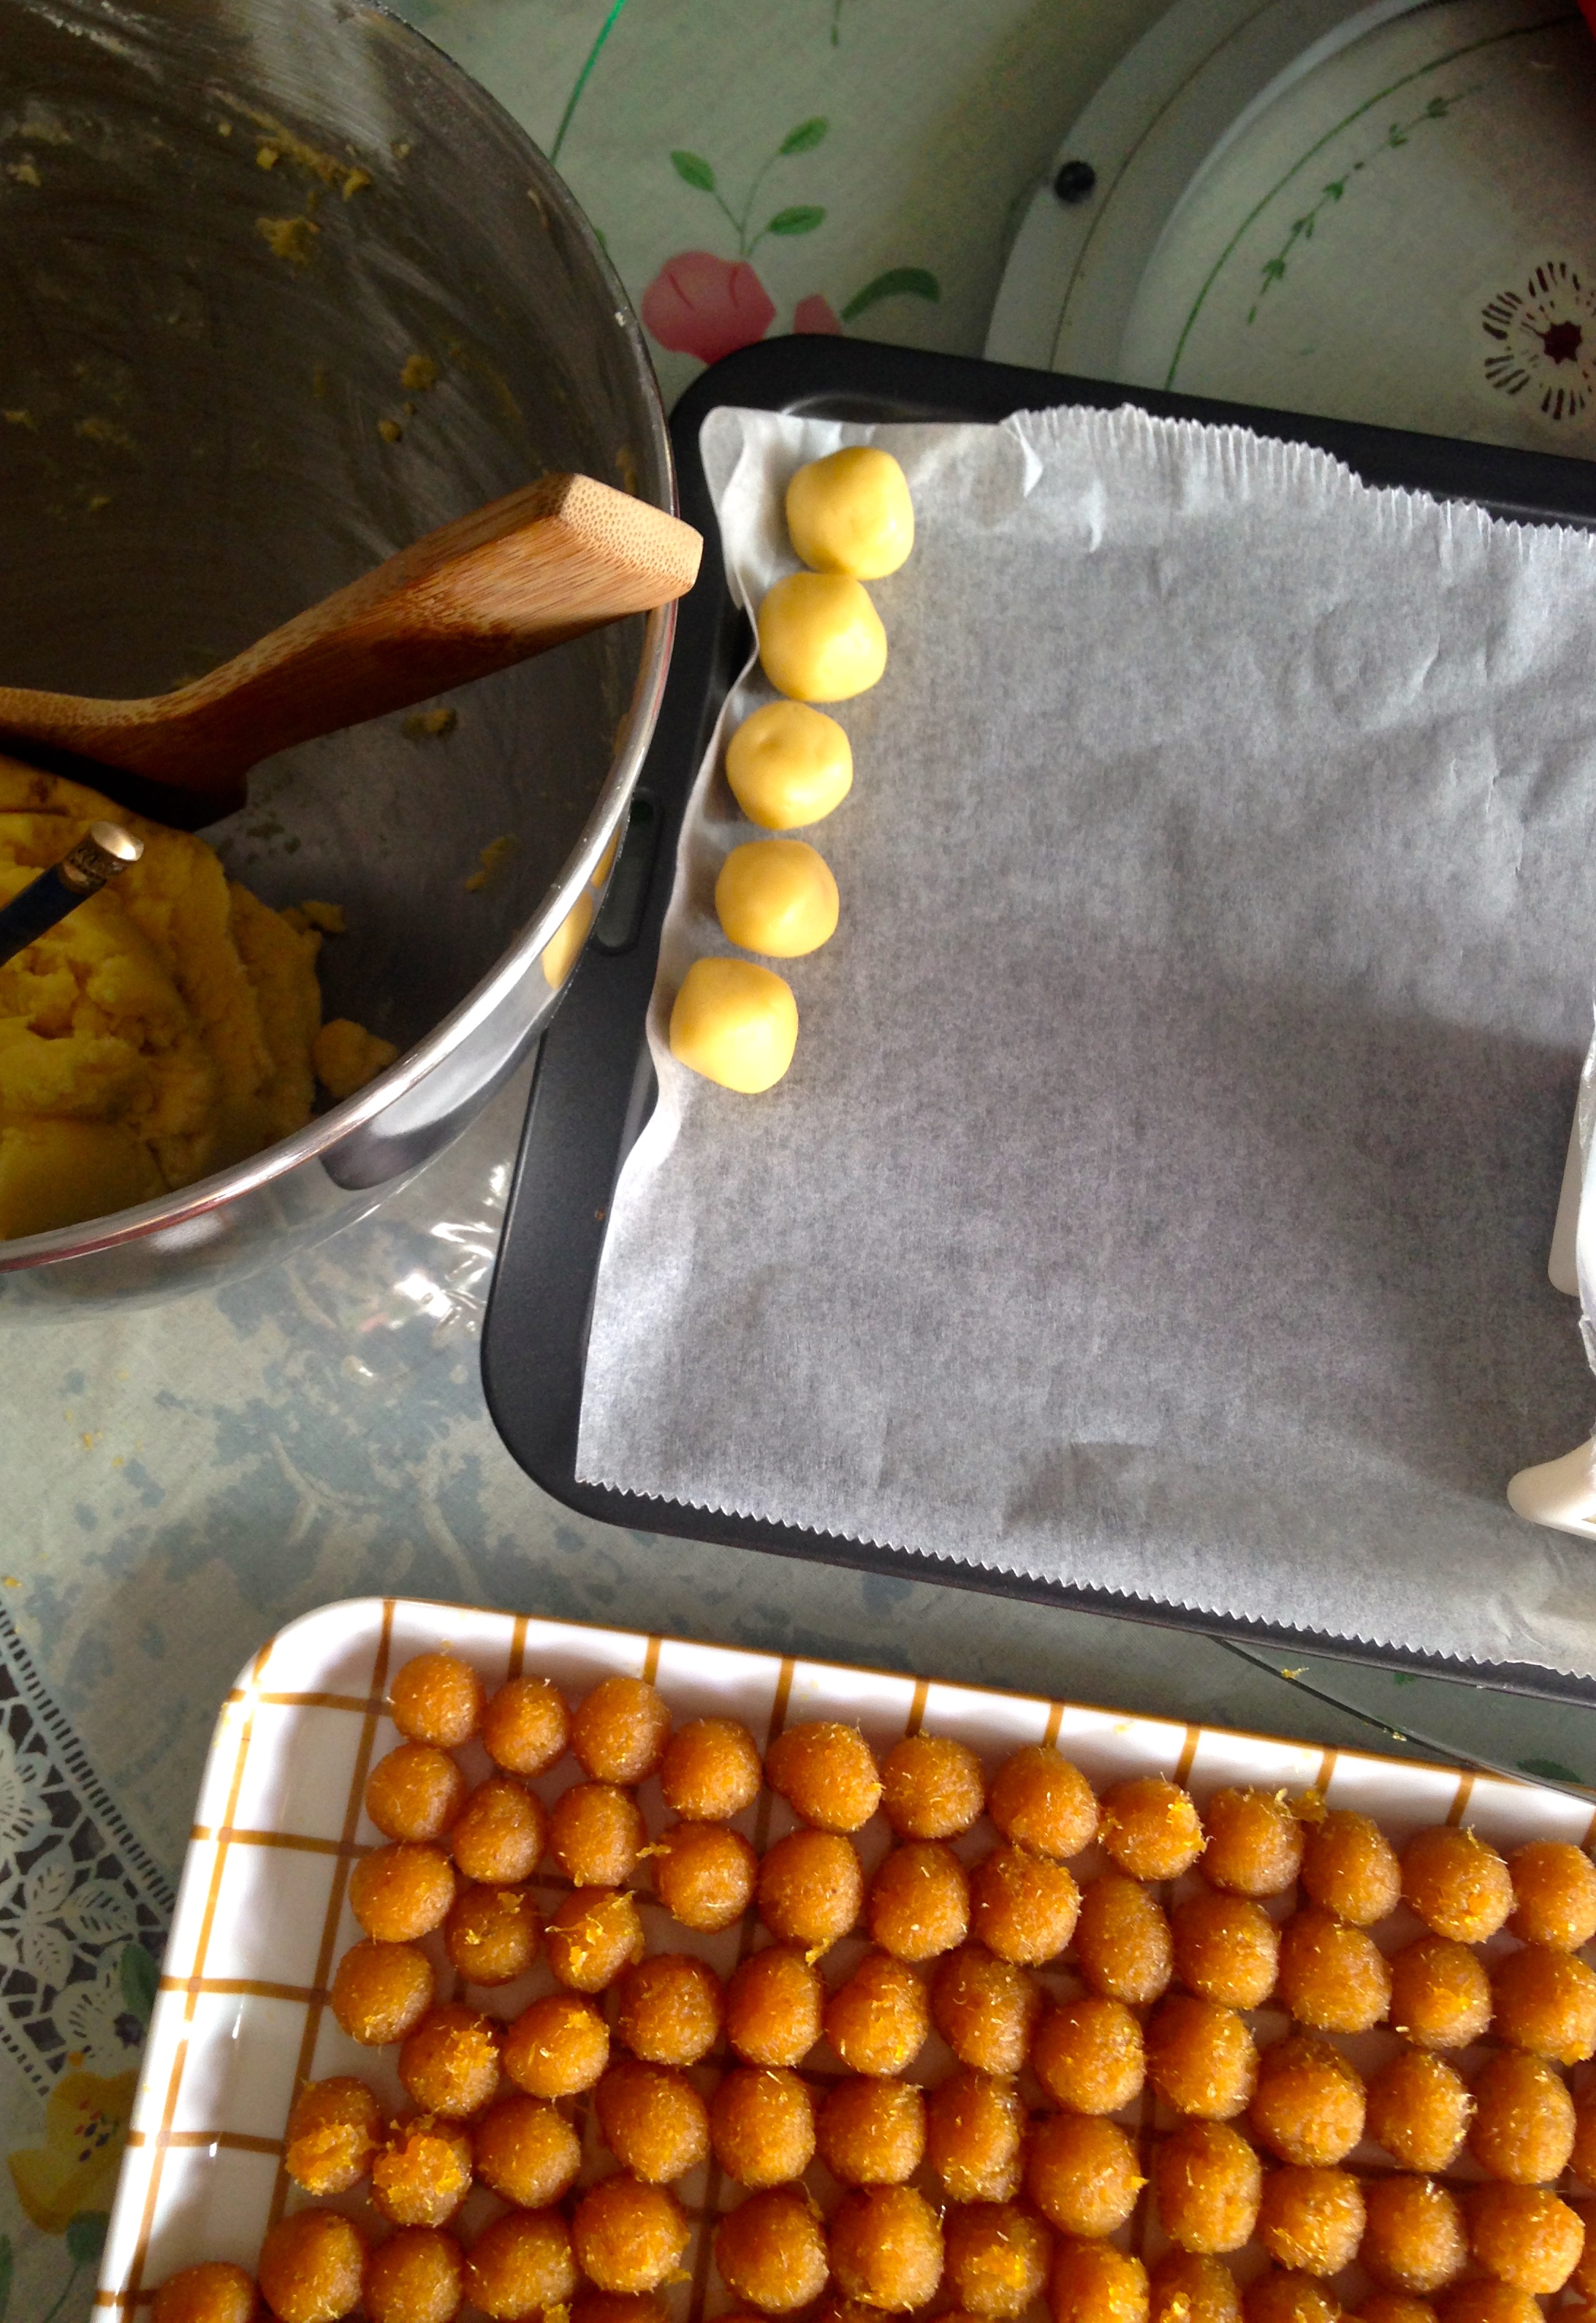
- When ready to use, roll them into small balls. This makes it easier to stuff them into the skins.


Now! When you have settled the easy part, here comes the tougher bit, making the skins of the tarts. The skin of the tart should have a buttery flavour to it, they should not let your mouth taste extremely dry afterwards and they should let the person eating it, want a second piece!
My recipe was gathered from Pinterest and I gave it shot and it worked. The tart was creamy, light and I definitely would use this recipe the next time!
Pineapple Tart Pastry skin
Ingredients:
- 250g unsalted butter (at room temperature)
- 50g icing sugar
- 2 egg yolks
- 360g plain flour mixed with 2 tbsp corn flour (sifted)
- ¼ tsp salt
Directions:
- Preheat oven at 160°C.
- Line a baking tray with grease-proof paper.
- Cream butter and icing sugar until light.
- Beat in egg yolks, one at a time. Add in salt and beat until fluffy.
- Fold in sifted ingredients (divided into 2-3 times) and mix into a firm dough.
- Leave aside for 30 minutes.
- Take a teaspoonful of the dough and fill it up with the pineapple ball paste. (You do not need to leave a huge gap in between the pineapple tarts as they do not expand when baking. The weigh of each tart is 10g each. I need to be fair and square with each and every one of them. 🙂

See how close I placed the tarts? - Put the balls on the baking tray.
- Brush with egg wash.
- Bake in preheated oven for 15 minutes and turn the baking tray 180 ° and continue to bake for 2 minutes or until golden brown.

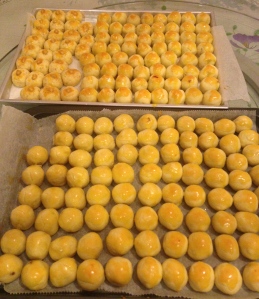
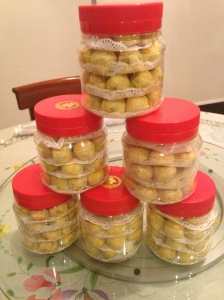
- Leave to cool before storing. I stored them in containers as I planned to give some away to my relatives.


I sincerely hope you have enjoyed this traditional treat that I have been growing up with. It was no easy task doing something so traditional, however it is about patience and understanding. I am glad I gave it a shot and I believe I would be doing this for the family from now on! Thank you for reading!
Have a Prosperous Lunar New Year to all! 祝羊年,天天喜气羊羊!
{In English it meant, In the Year of the Goat, May you be happy every day.}

Yummy! Thank you for all your love!
Wow! Thank you! It’s my pleasure to spread the love! 🙂